Food

Easy Sauerkraut Recipe

Sauerkraut really is one of the easiest fermented foods to make, not to mention superior and far cheaper than store bought options. It has been popular through out central Europe for hundreds of years.

Benefits of Sauerkraut:

  1. Supplies live beneficial bacteria

  2. Improves immune function

  3. Reduces allergies and inflammation

  4. Supports cognitive health and mood

  5. Provides lots of antioxidants

Sauerkraut Recipe:

The options here are endless, but it can easily start with just 2 ingredients, i.e. cabbage and salt!!! That is it. In fact, I suggest you start here, nail the process and then experiment from there with different flavours.

cabbage.jpg

Ingredients

  • 1 medium cabbage

  • 1 tsp real salt

  • vegetable starter (optional)

  • Optional ingredients to flavour the kraut:

  • carrot

  • apple

  • pear

  • onions

  • garlic

  • herbs

  • ginger

  • etc…..the options are endless

Method:

  1. Chop cabbage

  2. Add salt

  3. Knead with your clean hands until juice is released from cabbage, approx 10 min

  4. Pack tightly into a fermenting jar so that the veggies are under the liquid. If you need more juice, you can either keep pounding with a rolling pin until more juice is released or top up with a brine solution of salt and water until veggies under the liquid

  5. Weight down with rolled cabbage leave to ensure veggies stay underneath the liquid. We do not want to come into contact with the vegetables

  6. Tightly secure the lid and sit at room temperature for a minimum of 5 days, ideally 2-3 weeks so that it can go through the full fermentation phases.

NOTES:

  • Around day 2-5, excess liquid may come pouring out the sides, this is the height of the fermentation process, so ensure your jar is placed either on a plate or in a bowl to prevent mess

  • Regularly burb your ferment, by just opening and closing, this allows the excess gases to escape

  • Ensure all utensils are sterilised before commencing

  • If you notice the liquid is diminishing during the fermentation process, then top again with a brine mix until the veggies are covered.

WARNING:

- Fermented food is incredibly powerful and highly detoxing, so you want to start off VERY SLOWLY. If you feel that you or your child is a sensitive individual you want to go gradually. So start off with adding a little of the juice to your food, then 1/2 tsp, 1tsp etc and slowly build up to roughly a 1/4 of a cup with your food.

If you need help incorporating healing into your nutrition, then reach out to me or check my work with me page.

How to make your own Gluten Free Flour

Going gluten free can be quite challenging when it’s all new to you.

When we completed our GAPS journey of healing (no grains), the decision was made to be gluten free allowing some grains of a gluten free nature whilst still following all the principles of a whole food nutrient dense diet.

We couldn’t do nut flours due to my son’s nut allergies and were also very limited using coconut flour due to the amount of eggs it typically requires as he also had an egg allergy.

Looking at the packaged gluten free flours they were full of starches and fillers, so I was very limited to what I could use and was left with no option but to make my own.

So I started looking through my allergy cook books for a recipe and thankfully found one that was not too complicated. The one below is adapted from the original recipe in the book “YUM- Top tips for feeding babies and kids with allergies”

Plain Gluten Free Flour

Ingredients:

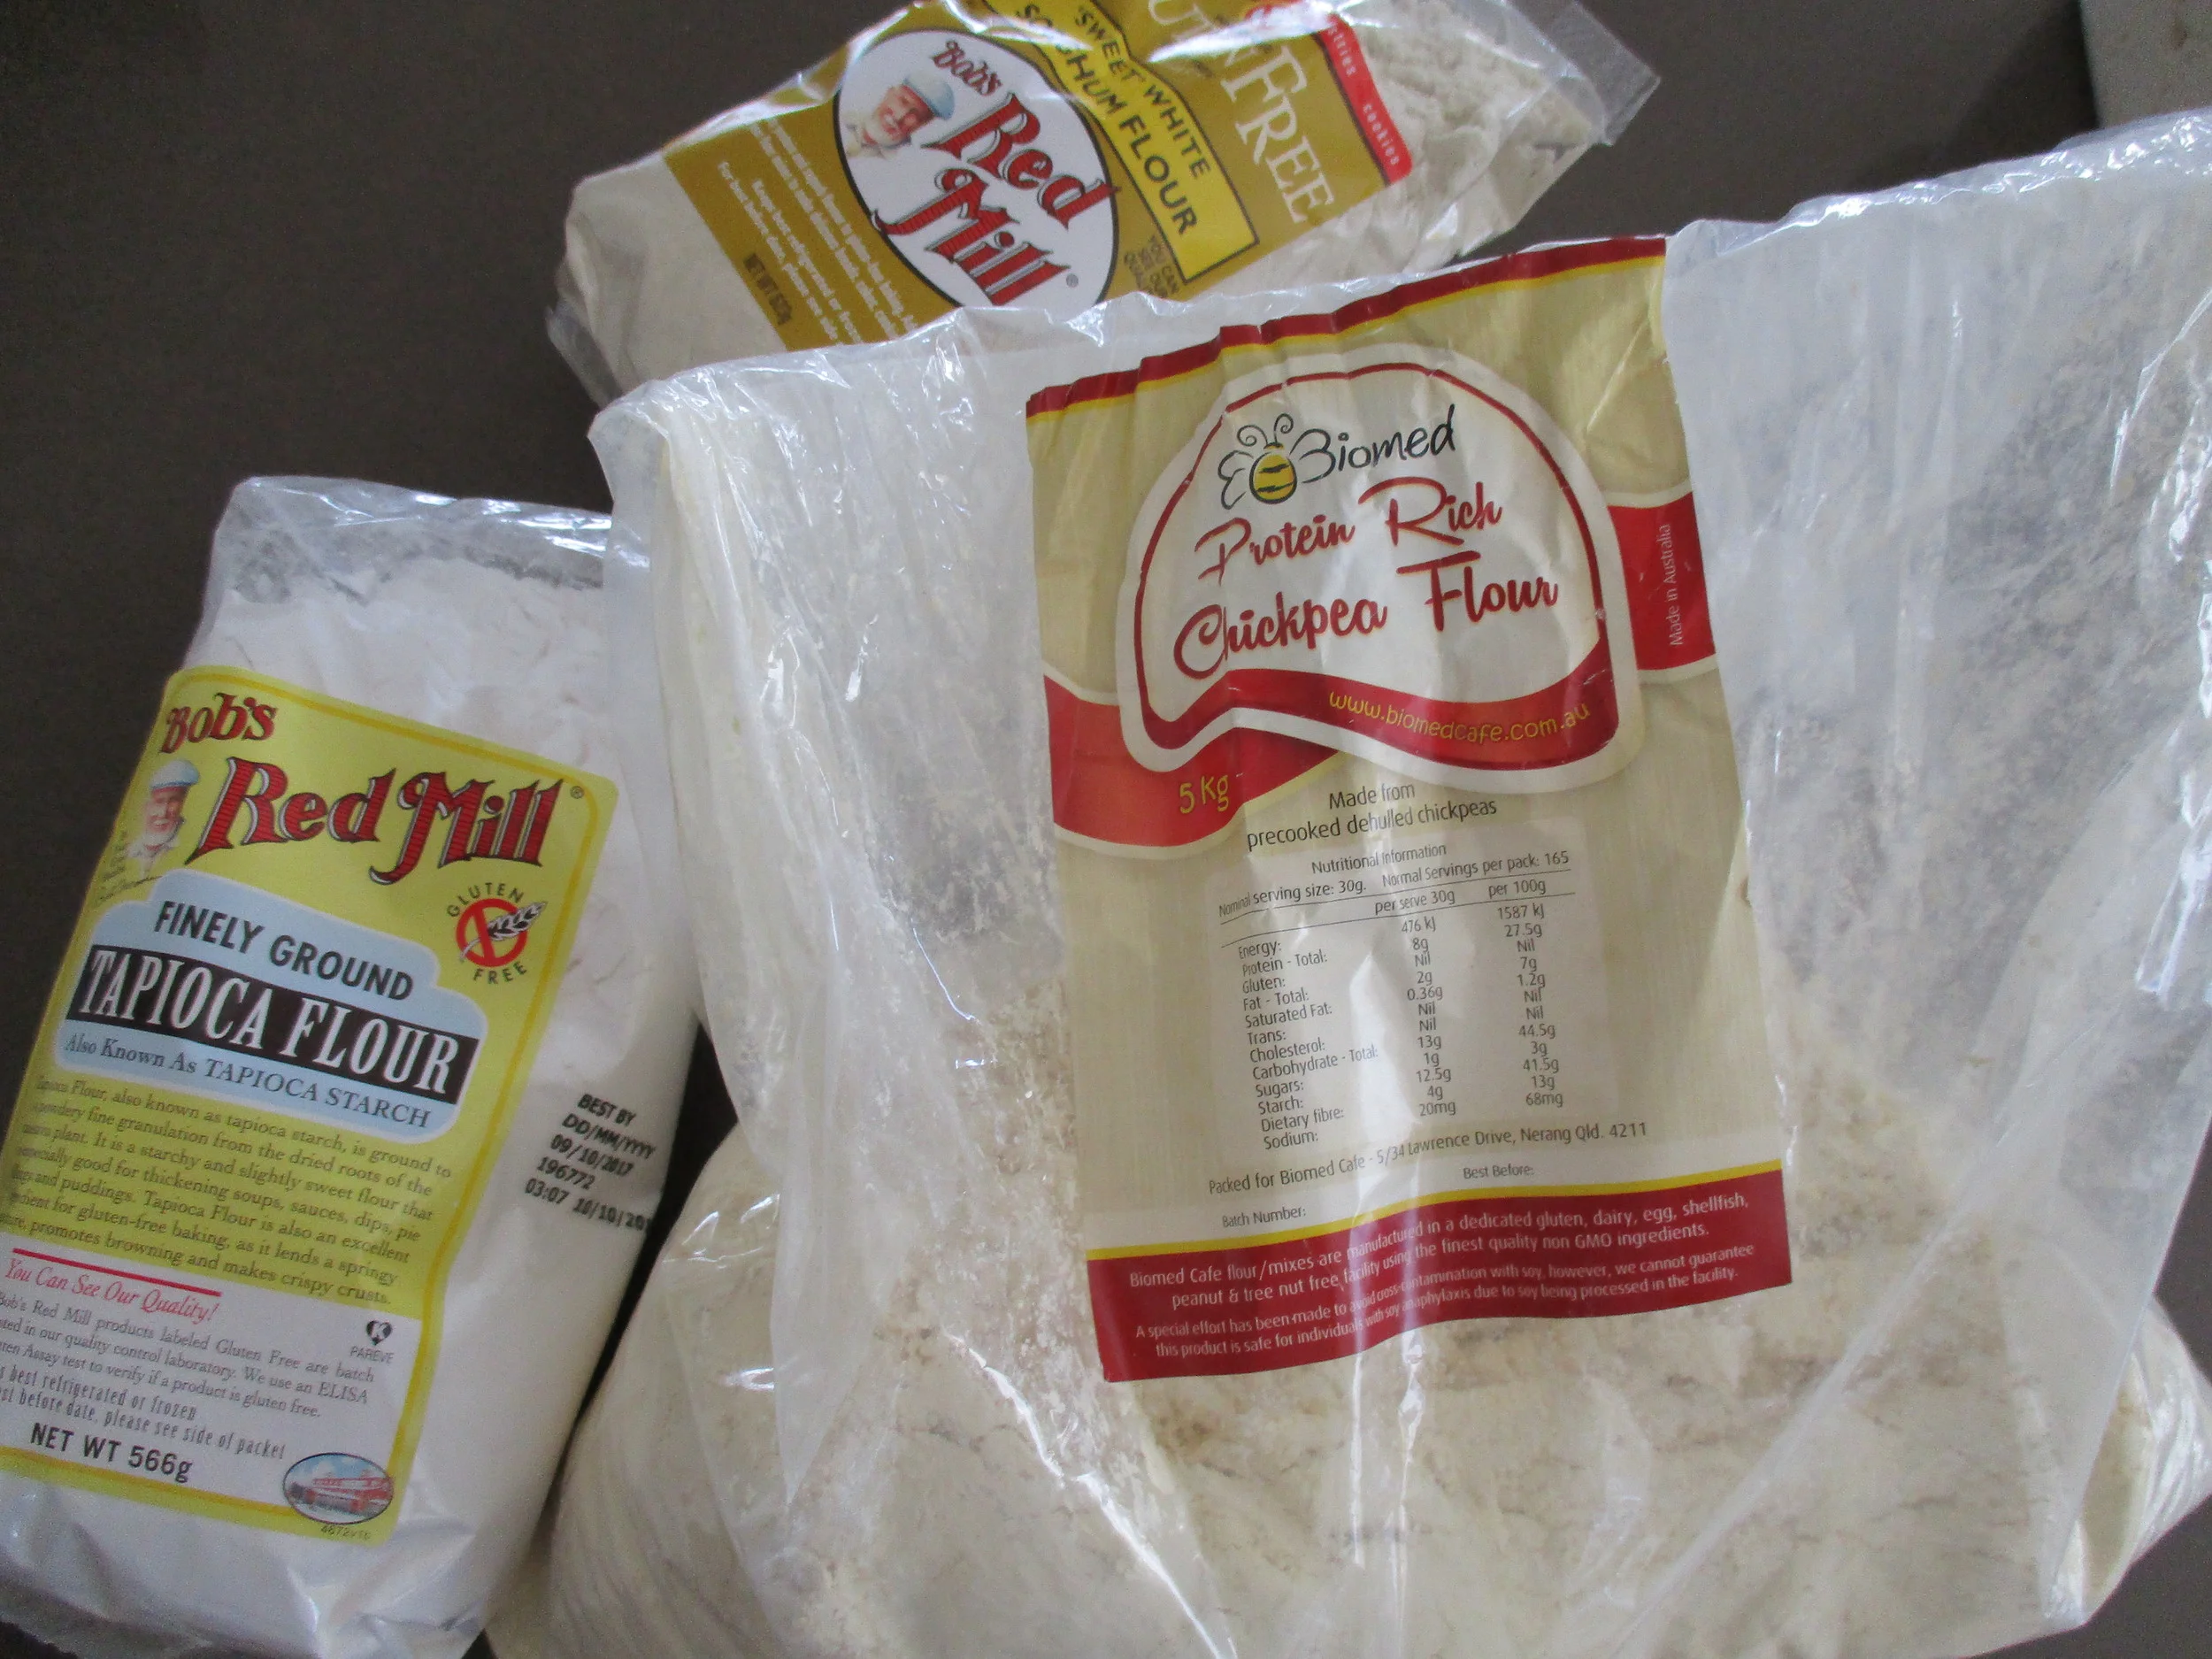
·         150g of chickpea flour. I buy it in bulk from here

·         150g of Sorghum flour. I use Bob’s Red Mill which is easily sourced from Coles or health food stores

·         150g of Tapioca flour. Make sure this does not contain any preservatives

·         1.5  tsp of guar gum. This is needed to help bind the flour. It has the number 412 and in The Chemical Maze is listed as safe for most people.  There are some noted side effects; however it has been fine for my family.

Self Raising Gluten Free Flour

Ingredients:

·         All of the above

·         1tsp of bicarb

·         2 tsp of cream of tartar

Mix all together and store in an airtight container.

Three flours used to make Gluten Free Flour

Notes:

·         You can swap the sorghum & chickpea for the following flours:

o   Millet, quinoa, buckwheat, almond (if no nut allergy)

o   Coconut flour can also be used as an option, but then you will need to play around with the liquid content and eggs in your recipe as coconut flour is very thirsty. This makes it slightly more challenging to do a straight swap in recipes.

After playing around with various combinations, we personally prefer the taste & texture of the above mix and use it very easily as a replacement to make just about any recipe Gluten Free.

To be time effective, I triple the recipe and store in a large airtight container.

Gluten Free Flour Mixes

Working with gluten free flour is very different to that of wheat, so be patient and play around with it, you WILL get the hang it.

Any recipe I post saying gluten free flour will use this mix unless specified otherwise.