Essentials

Easy Sauerkraut Recipe

Sauerkraut really is one of the easiest fermented foods to make, not to mention superior and far cheaper than store bought options. It has been popular through out central Europe for hundreds of years.

Benefits of Sauerkraut:

  1. Supplies live beneficial bacteria

  2. Improves immune function

  3. Reduces allergies and inflammation

  4. Supports cognitive health and mood

  5. Provides lots of antioxidants

Sauerkraut Recipe:

The options here are endless, but it can easily start with just 2 ingredients, i.e. cabbage and salt!!! That is it. In fact, I suggest you start here, nail the process and then experiment from there with different flavours.

cabbage.jpg

Ingredients

  • 1 medium cabbage

  • 1 tsp real salt

  • vegetable starter (optional)

  • Optional ingredients to flavour the kraut:

  • carrot

  • apple

  • pear

  • onions

  • garlic

  • herbs

  • ginger

  • etc…..the options are endless

Method:

  1. Chop cabbage

  2. Add salt

  3. Knead with your clean hands until juice is released from cabbage, approx 10 min

  4. Pack tightly into a fermenting jar so that the veggies are under the liquid. If you need more juice, you can either keep pounding with a rolling pin until more juice is released or top up with a brine solution of salt and water until veggies under the liquid

  5. Weight down with rolled cabbage leave to ensure veggies stay underneath the liquid. We do not want to come into contact with the vegetables

  6. Tightly secure the lid and sit at room temperature for a minimum of 5 days, ideally 2-3 weeks so that it can go through the full fermentation phases.

NOTES:

  • Around day 2-5, excess liquid may come pouring out the sides, this is the height of the fermentation process, so ensure your jar is placed either on a plate or in a bowl to prevent mess

  • Regularly burb your ferment, by just opening and closing, this allows the excess gases to escape

  • Ensure all utensils are sterilised before commencing

  • If you notice the liquid is diminishing during the fermentation process, then top again with a brine mix until the veggies are covered.

WARNING:

- Fermented food is incredibly powerful and highly detoxing, so you want to start off VERY SLOWLY. If you feel that you or your child is a sensitive individual you want to go gradually. So start off with adding a little of the juice to your food, then 1/2 tsp, 1tsp etc and slowly build up to roughly a 1/4 of a cup with your food.

If you need help incorporating healing into your nutrition, then reach out to me or check my work with me page.

Easy Peasy Wraps

When we transitioned to a completely wholefood way of life, I was pretty much making EVERYTHING from scratch which was obviously time consuming and felt like I was in the kitchen ALL.OF.THE.TIME…scrap that, it didn’t feel like it, I WAS!!

I started looking to see what I could cull from my list of things to make, one of which was wraps. So the search began. How hard could it be I though? VERY HARD….

 OH EM GEE…the ingredients list was horrendous, even the so called healthy ones.

Even when I did try some of “healthier” ones out on the family for convenience, they did not enjoy them and preferred the ones I made.

Alas, wraps stayed on my list of things to make. What is the big deal I thought? It takes me 15-20 minutes start to finish (if I’m not resting the dough, time permitting). They taste good, versatile, pliable and freeze amazingly.

 Here is my tried and tested recipe that I have been using now close to 6 years and it is very forgiving.

IMG_0493.JPG

 Ingredients:

  • 3 cups of flour of choice ( I alternate between my Gluten Free flour and Spelt Flour)

  • 1/3 cup of olive oil

  • 2/3 cup of plain greek yoghurt (check the label to ensure there is nothing extra added)

  • 1 tsp of salt

  • ½-1 cup of water, depending on texture…I usually use just over ½ cup

 Method:

IMG_0469.JPG
  • Mix all the ingredients together until the dough is formed

  • Rest 30 min  - 4 hours (time permitting, I don’t always rest. This makes the dough easier to digest, specially if using a gluten based flour)

  • Break into small balls, I usually get 10-12

  • Roll out thinly on a floured surface

  • Warm up a pan on medium heat

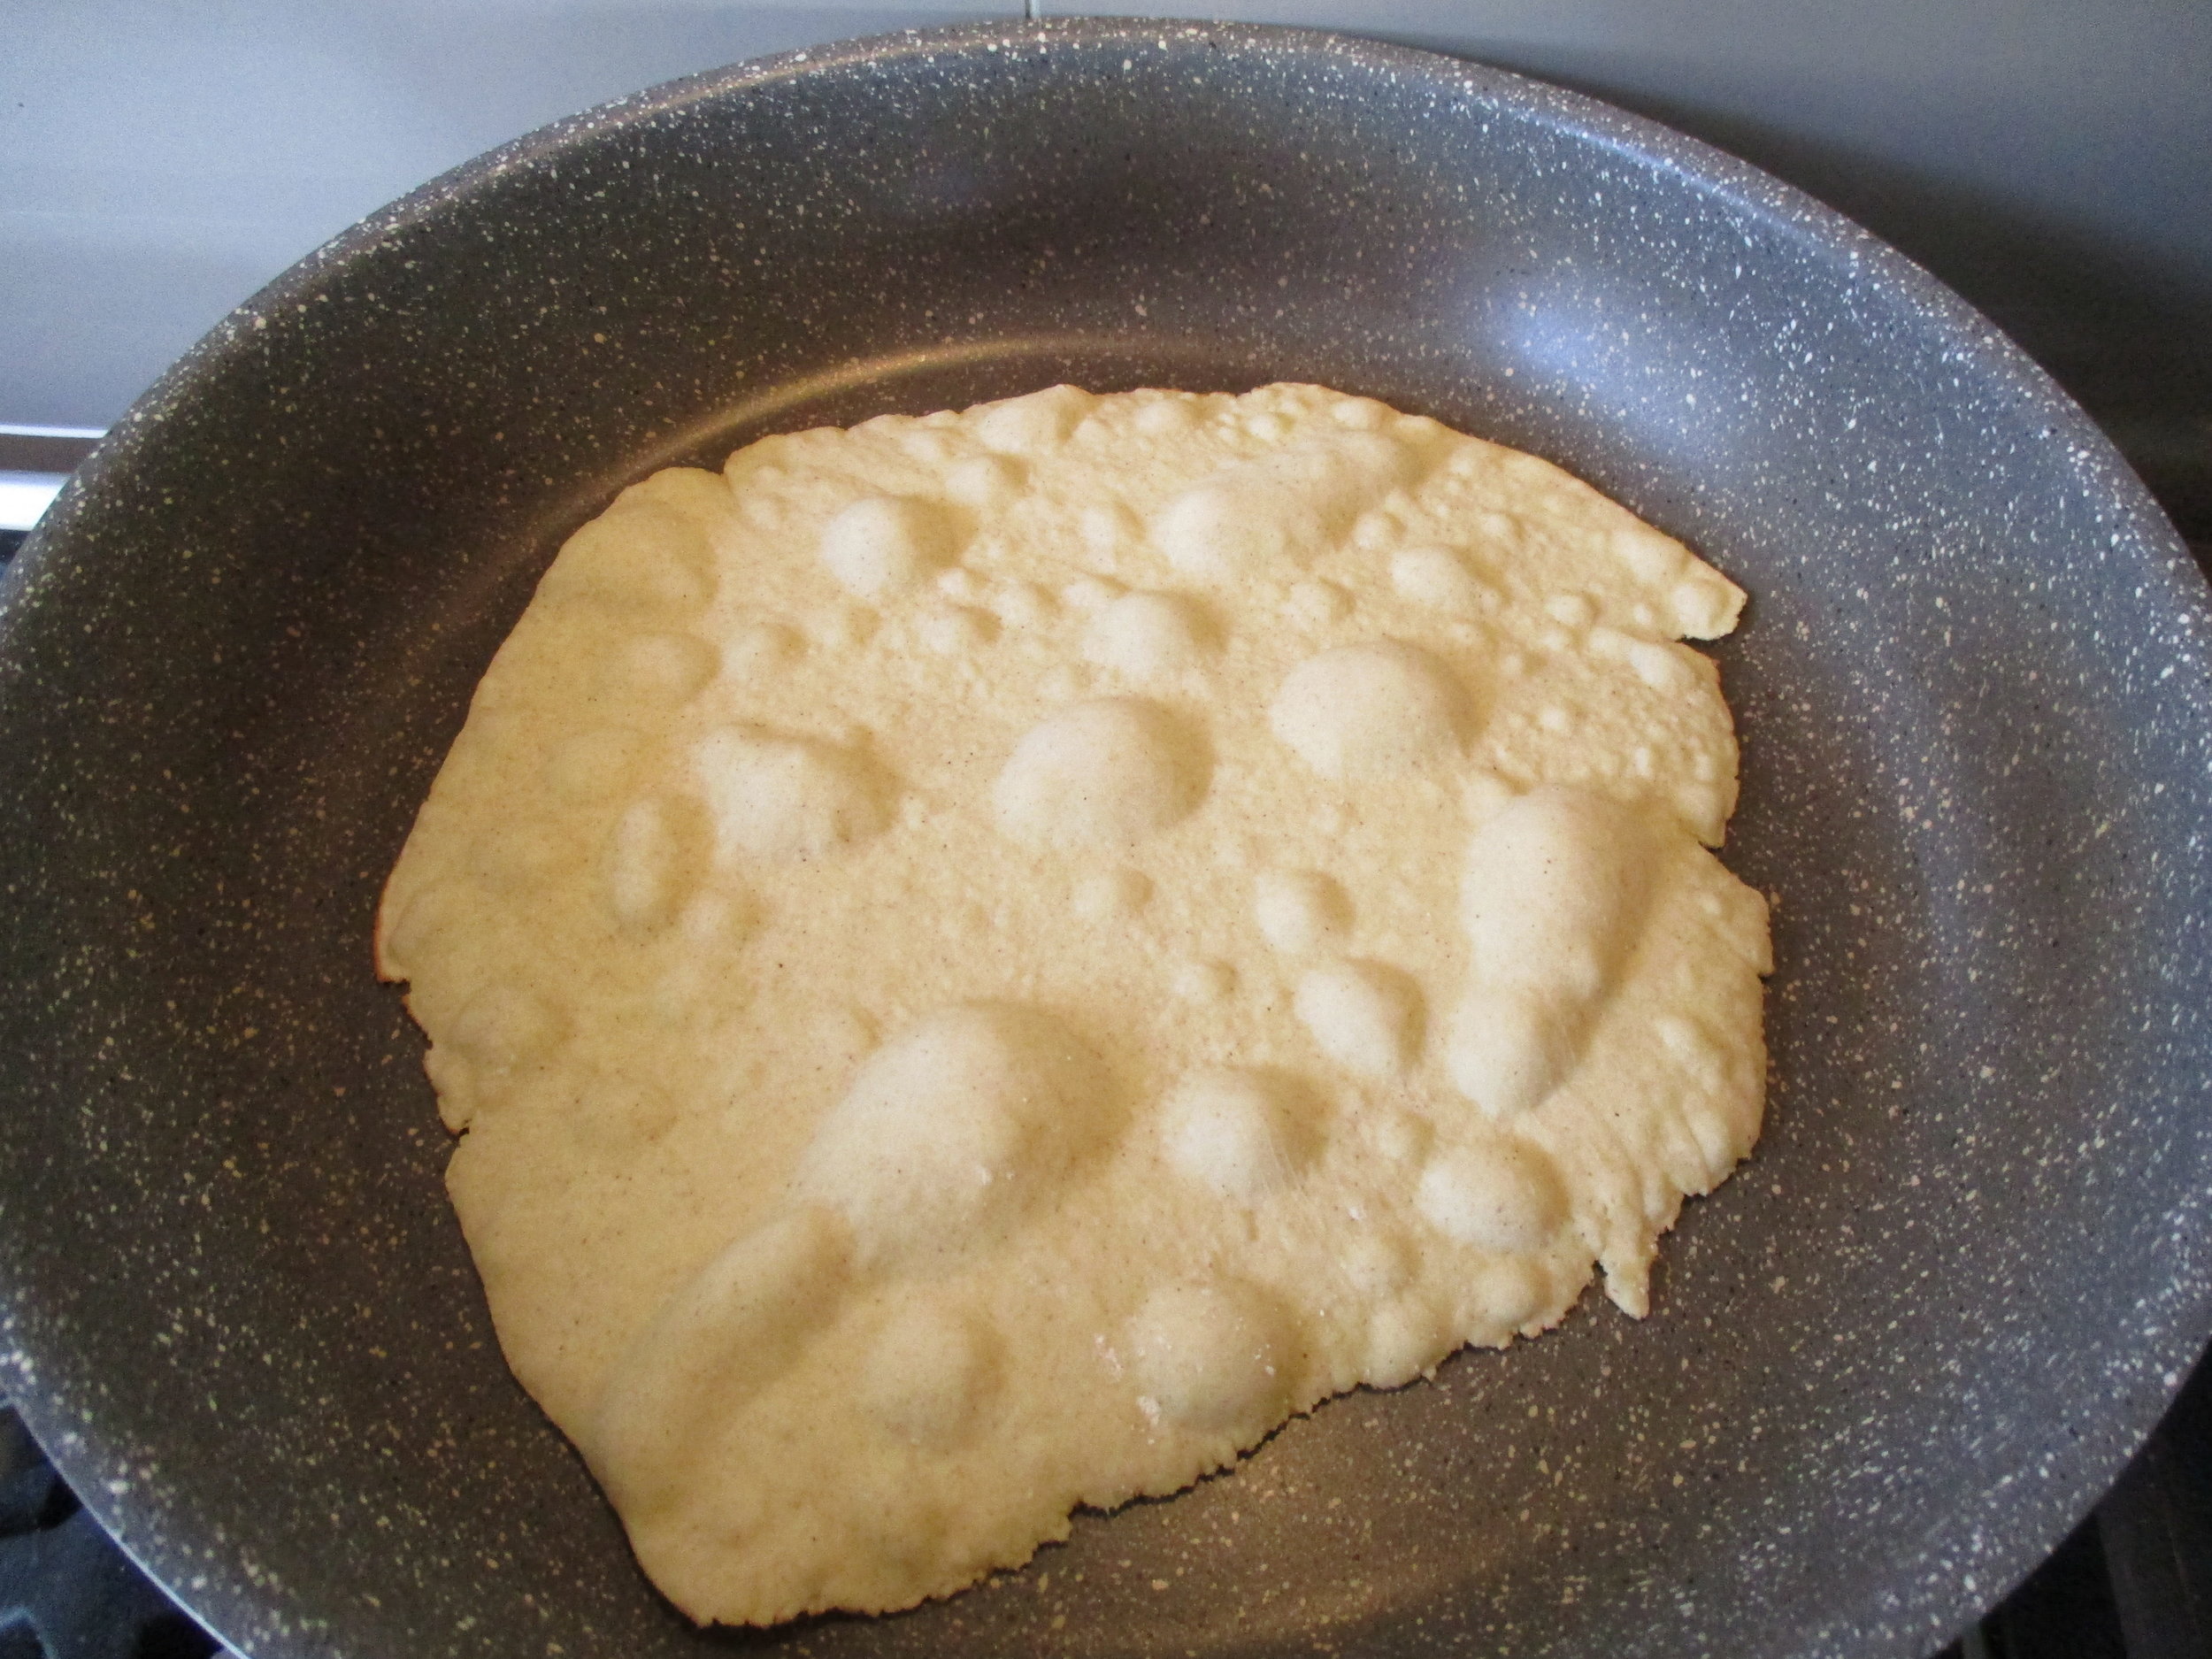
  • Dry fry until bubbles form, then flip onto the other for another 10 sec or so

  • Repeat.


They are ready to use and freeze amazingly.

Once cooled down, place parchment paper in between slices and freeze in a suitable container or freezer bag.

When ready to use, just allow 5 min for them thaw.


Enjoy

Making your very own nut milk

Most people will panic when told that they need to be dairy free for a period of time.

One of the most common questions I get is "What am I going to put in my coffee?"

As a replacement for a dairy-based milk, nut, seed and coconut kinds of milk have become very popular. With that also comes the downside of commercialism.

Have you checked the list of ingredients at the back or on the side of the box? In some, there was something ridiculous like 10 ingredients in a simple almond milk, none of which were conducive to health and to be honest, you'd almost be better drinking the dairy-based milk given what was included!

It is so easy to make your own variety and combinations. I'll say straight up, I'm not a fan of almond milk, but love hazelnut and cashew milk. The kids don't mind a mix of coconut & seed milk in their smoothies.

What you'll need:

Equipment

  • A high speed blender

  • A nut milk bag or a piece of organic cotton muslin

  • A glass jar or container to strain the milk into

Ingredients:

  • 1 cup of nuts of choice (preferably soaked overnight, cashews only need 2-3 hours)

  • 500ml - 1L of filtered water, my happy medium is 650ml for a good creamy consistency (use less if you want a creamier version)

  • 1 date (optional)

  • 1 tbsp of vanilla extract (optional)

  • Pinch of salt (optional, I rarely add)

Method:

  • Place all ingredients in the blender

  • Blend for 10-30 seconds

  • Strain through a nut milk bag or muslin. Cashew milk does not require any straining, so often is my choice of milk when I don't have a lot of time

  • Pour into a glass container and refrigerate. Will last up to 5 days

You can freeze the leftover pulp and use it make grainfree cookies, blissballs, pancakes or dry it out in the oven or dehydrator if you have one and make a flour. Too easy!


Enjoy XX