Easy Sauerkraut Recipe

Sauerkraut really is one of the easiest fermented foods to make, not to mention superior and far cheaper than store bought options. It has been popular through out central Europe for hundreds of years.

Benefits of Sauerkraut:

  1. Supplies live beneficial bacteria

  2. Improves immune function

  3. Reduces allergies and inflammation

  4. Supports cognitive health and mood

  5. Provides lots of antioxidants

Sauerkraut Recipe:

The options here are endless, but it can easily start with just 2 ingredients, i.e. cabbage and salt!!! That is it. In fact, I suggest you start here, nail the process and then experiment from there with different flavours.

cabbage.jpg

Ingredients

  • 1 medium cabbage

  • 1 tsp real salt

  • vegetable starter (optional)

  • Optional ingredients to flavour the kraut:

  • carrot

  • apple

  • pear

  • onions

  • garlic

  • herbs

  • ginger

  • etc…..the options are endless

Method:

  1. Chop cabbage

  2. Add salt

  3. Knead with your clean hands until juice is released from cabbage, approx 10 min

  4. Pack tightly into a fermenting jar so that the veggies are under the liquid. If you need more juice, you can either keep pounding with a rolling pin until more juice is released or top up with a brine solution of salt and water until veggies under the liquid

  5. Weight down with rolled cabbage leave to ensure veggies stay underneath the liquid. We do not want to come into contact with the vegetables

  6. Tightly secure the lid and sit at room temperature for a minimum of 5 days, ideally 2-3 weeks so that it can go through the full fermentation phases.

NOTES:

  • Around day 2-5, excess liquid may come pouring out the sides, this is the height of the fermentation process, so ensure your jar is placed either on a plate or in a bowl to prevent mess

  • Regularly burb your ferment, by just opening and closing, this allows the excess gases to escape

  • Ensure all utensils are sterilised before commencing

  • If you notice the liquid is diminishing during the fermentation process, then top again with a brine mix until the veggies are covered.

WARNING:

- Fermented food is incredibly powerful and highly detoxing, so you want to start off VERY SLOWLY. If you feel that you or your child is a sensitive individual you want to go gradually. So start off with adding a little of the juice to your food, then 1/2 tsp, 1tsp etc and slowly build up to roughly a 1/4 of a cup with your food.

If you need help incorporating healing into your nutrition, then reach out to me or check my work with me page.

Easy Peasy Wraps

When we transitioned to a completely wholefood way of life, I was pretty much making EVERYTHING from scratch which was obviously time consuming and felt like I was in the kitchen ALL.OF.THE.TIME…scrap that, it didn’t feel like it, I WAS!!

I started looking to see what I could cull from my list of things to make, one of which was wraps. So the search began. How hard could it be I though? VERY HARD….

 OH EM GEE…the ingredients list was horrendous, even the so called healthy ones.

Even when I did try some of “healthier” ones out on the family for convenience, they did not enjoy them and preferred the ones I made.

Alas, wraps stayed on my list of things to make. What is the big deal I thought? It takes me 15-20 minutes start to finish (if I’m not resting the dough, time permitting). They taste good, versatile, pliable and freeze amazingly.

 Here is my tried and tested recipe that I have been using now close to 6 years and it is very forgiving.

IMG_0493.JPG

 Ingredients:

  • 3 cups of flour of choice ( I alternate between my Gluten Free flour and Spelt Flour)

  • 1/3 cup of olive oil

  • 2/3 cup of plain greek yoghurt (check the label to ensure there is nothing extra added)

  • 1 tsp of salt

  • ½-1 cup of water, depending on texture…I usually use just over ½ cup

 Method:

IMG_0469.JPG
  • Mix all the ingredients together until the dough is formed

  • Rest 30 min  - 4 hours (time permitting, I don’t always rest. This makes the dough easier to digest, specially if using a gluten based flour)

  • Break into small balls, I usually get 10-12

  • Roll out thinly on a floured surface

  • Warm up a pan on medium heat

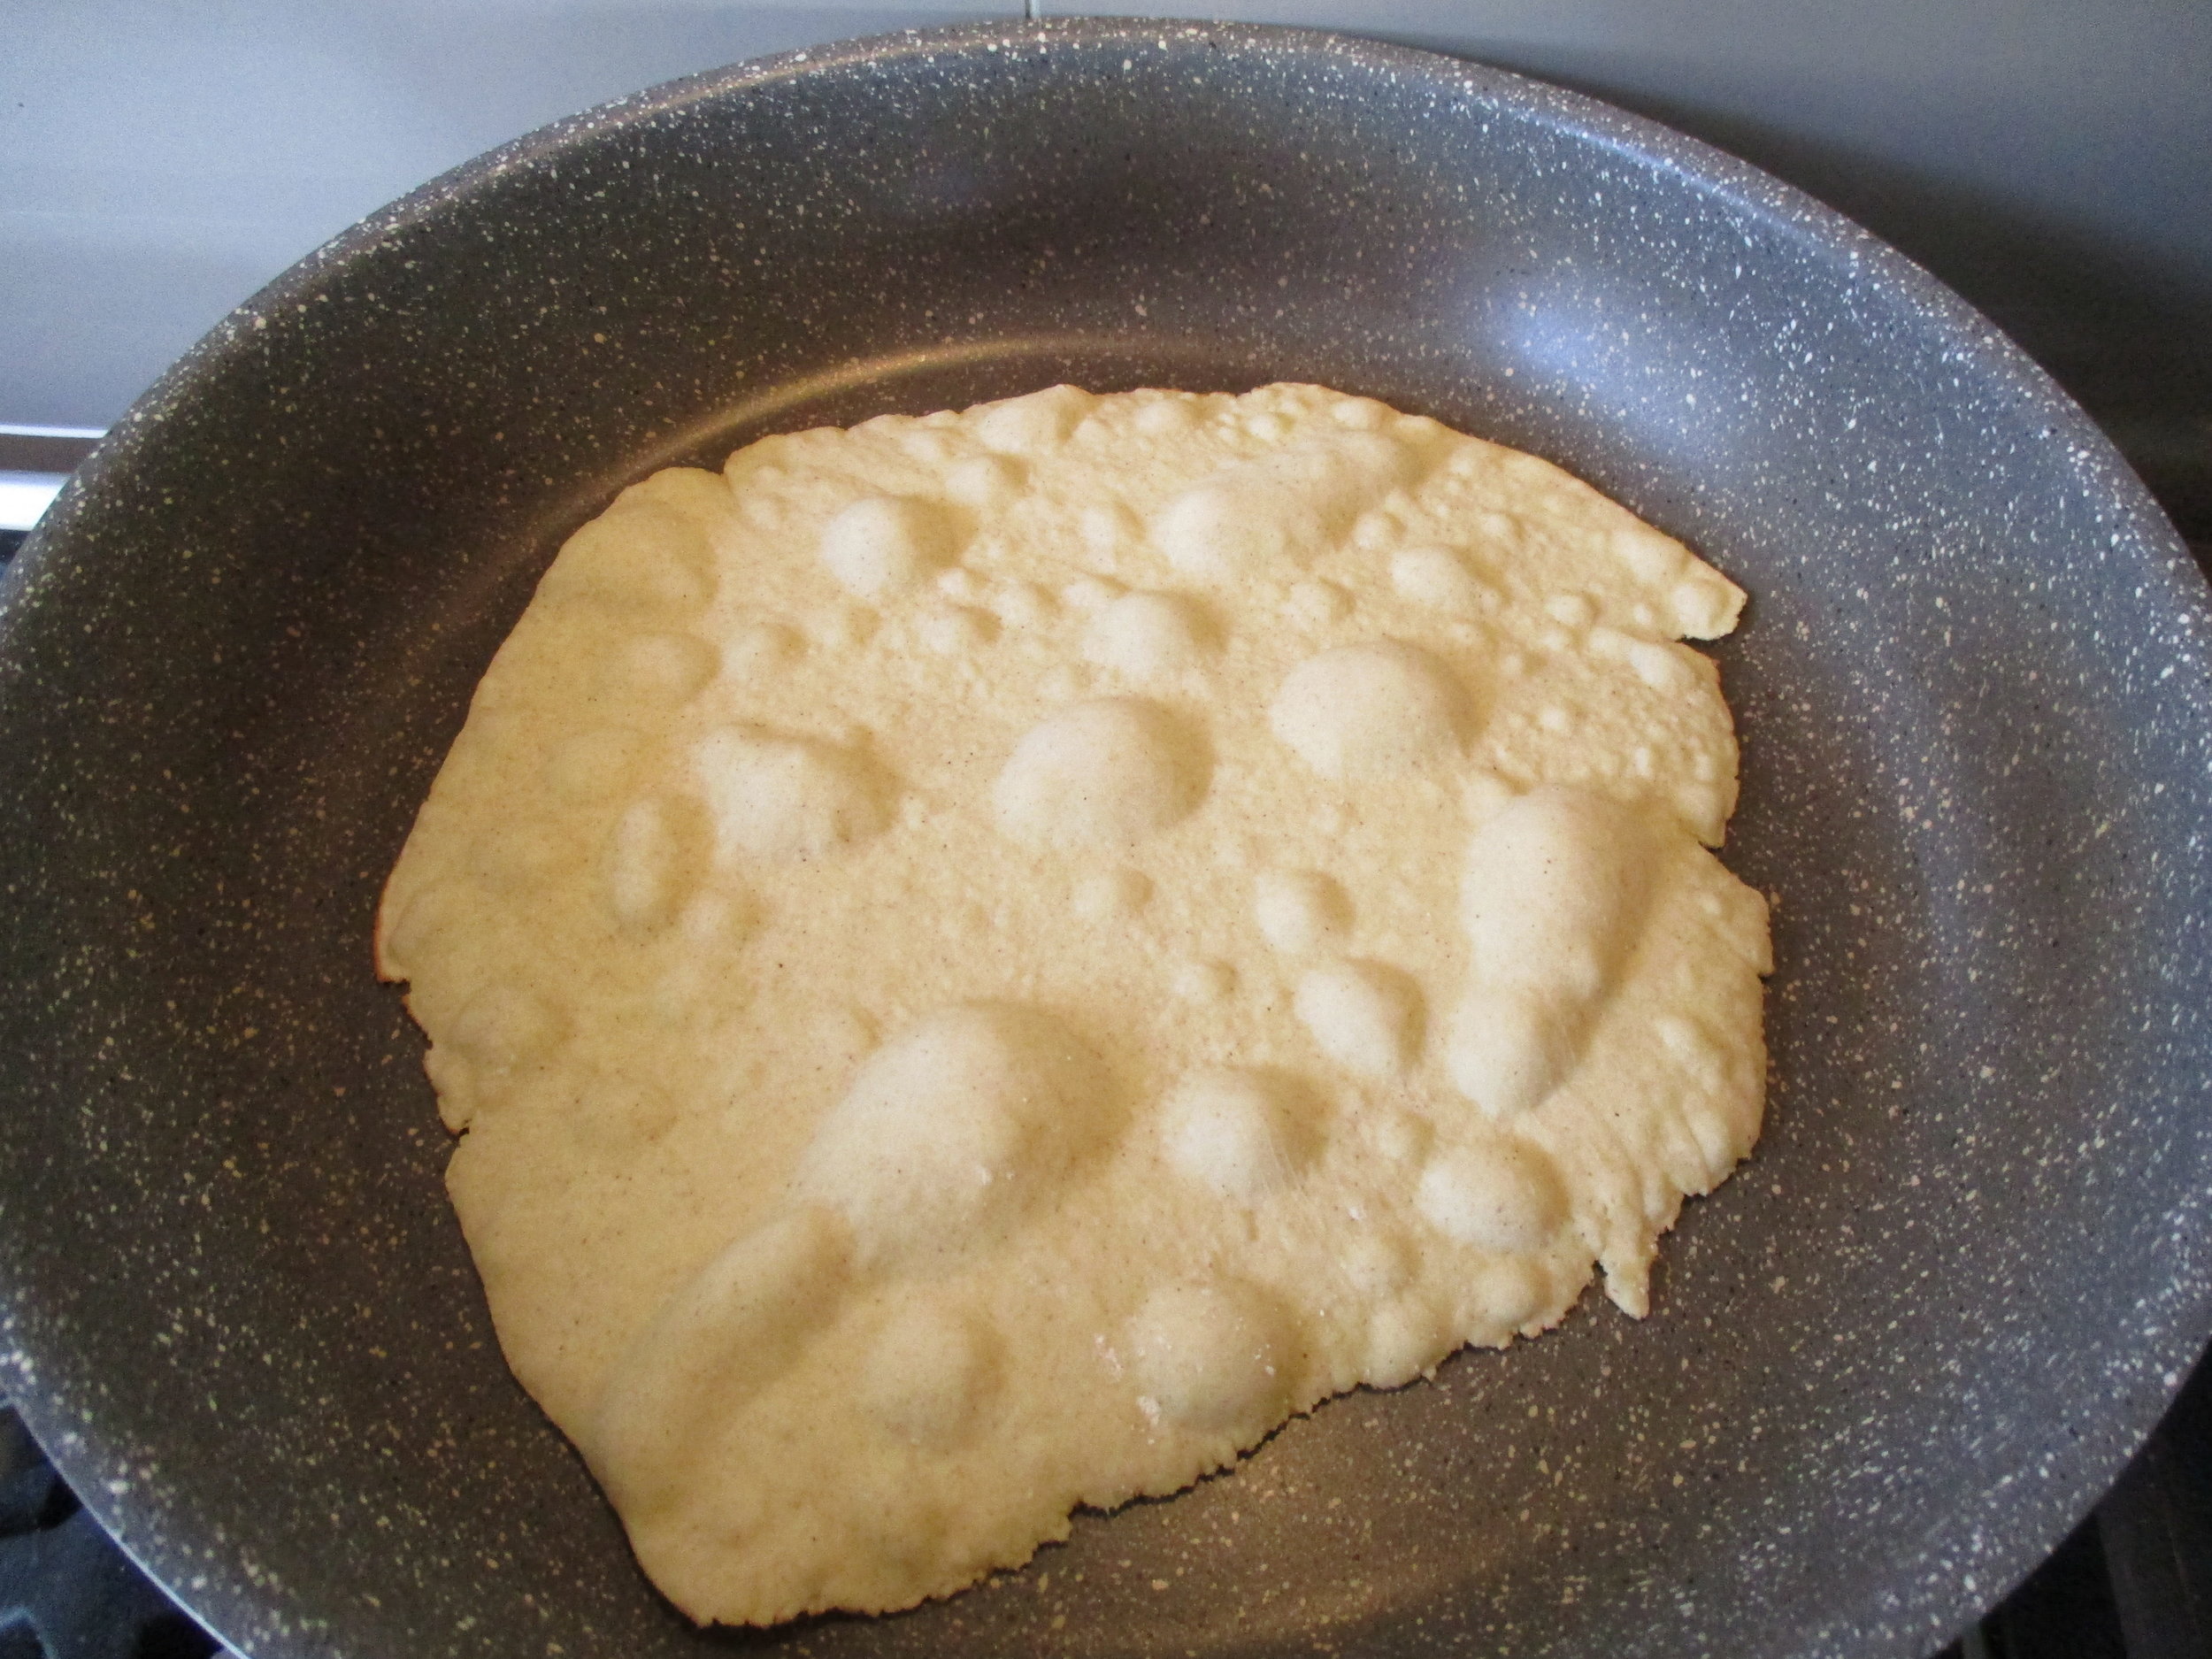
  • Dry fry until bubbles form, then flip onto the other for another 10 sec or so

  • Repeat.


They are ready to use and freeze amazingly.

Once cooled down, place parchment paper in between slices and freeze in a suitable container or freezer bag.

When ready to use, just allow 5 min for them thaw.


Enjoy

Making your very own nut milk

Most people will panic when told that they need to be dairy free for a period of time.

One of the most common questions I get is "What am I going to put in my coffee?"

As a replacement for a dairy-based milk, nut, seed and coconut kinds of milk have become very popular. With that also comes the downside of commercialism.

Have you checked the list of ingredients at the back or on the side of the box? In some, there was something ridiculous like 10 ingredients in a simple almond milk, none of which were conducive to health and to be honest, you'd almost be better drinking the dairy-based milk given what was included!

It is so easy to make your own variety and combinations. I'll say straight up, I'm not a fan of almond milk, but love hazelnut and cashew milk. The kids don't mind a mix of coconut & seed milk in their smoothies.

What you'll need:

Equipment

  • A high speed blender

  • A nut milk bag or a piece of organic cotton muslin

  • A glass jar or container to strain the milk into

Ingredients:

  • 1 cup of nuts of choice (preferably soaked overnight, cashews only need 2-3 hours)

  • 500ml - 1L of filtered water, my happy medium is 650ml for a good creamy consistency (use less if you want a creamier version)

  • 1 date (optional)

  • 1 tbsp of vanilla extract (optional)

  • Pinch of salt (optional, I rarely add)

Method:

  • Place all ingredients in the blender

  • Blend for 10-30 seconds

  • Strain through a nut milk bag or muslin. Cashew milk does not require any straining, so often is my choice of milk when I don't have a lot of time

  • Pour into a glass container and refrigerate. Will last up to 5 days

You can freeze the leftover pulp and use it make grainfree cookies, blissballs, pancakes or dry it out in the oven or dehydrator if you have one and make a flour. Too easy!


Enjoy XX


Soaked Oat Breakfast Muffins

Dairy Free, Refined Sugar Free, Gluten Free option (depending on what ingredients you use), Nut free

I accidentally came up with this recipe whilst making pancakes for breakfast for the kids one morning.

My little man used to love pancakes and then one day he decided he just doesn’t like them anymore. Say what! I mean he used to love them. I was gutted. I loved having pancakes as a breakfast or snack option.

So I was determined to get him back onto pancakes. I tried him with an oat porridge pancake instead, whilst he loved the taste, he was still not a fan. So I figured it was a texture thing. That’s when the idea came up to make the pancake as a muffin with a few variations.

This is what I came up with which he loved! To me it has a really scone type texture and taste.

Ingredients:

  • 1 cup of Gluten Free oats soaked overnight

  • 1 cup of flour of your choice. I use my Gluten Free flour mix

  • 1 egg

  • 1 tsp of baking powder (aluminum free)

  • 3-4 tablespoons of maple syrup or sweetener to taste

  • 1 tbs of vanilla extract, we like vanilla, can use less

  • ½ - 1 cup of milk of choice (I use coconut milk)

Variation:

 -  Could use 2 eggs and remove the baking powder. 1 egg just works better for my little man

 - You could try adding things like shredded coconut, spices such as cinnamon, cardamon and other dried fruits, but he preferred it the way I made it the first time, so that is what I perfected.

Method:

  • Soak oats overnight & rinse well in the morning. Add some lemon juice or a dollop of yoghurt in the water overnight

  • Add remaining ingredients and mix well. Add milk slowly until you have a nice batter texture

  • Spoon into muffin cups

  • Bake in a pre-heated oven for 30 minutes or until golden brown

Serve with lashings of butter is our preferred choice, but you can add your favourite jam spread too with some quality fresh cream

I usually get 9-10 muffins a batch

These freeze beautifully.


Enjoy xx

Citrus & Berry Breakfast Pudding

Gluten Free, Grain Free, Refined Sugar Free, Nut Free, Dairy Free

Confession - I'm quite a creature of habit with food. I could easily eat the same thing for a LONG period of time and not be phased by it. One day whilst sitting down to my "usual" breakfast, one of the kids said "Mum you have the same thing for breakfast everyday" That'swhen I thought about when was the last time I had something different, I could not remember!

So I figured it was time to come up with a few different options. That's when this little baby was created.

For me, breakfast needs to follow this formula:

  • Sufficient Fat

  • Sufficient protein

  • Grain free

  • Sustaining for at least 4- 5 hours

  • Take less than 5 min to prep

I've become so in tune with what my body likes and needs and find the above formula just works!

Ingredients:

  • ½ cup of coconut milk

  • ¼ cup of coconut flour

  • 2 eggs

  • 2 tbsp of coconut oil

  • 3 tbs of maple syrup or sweetener of choice. Have also used 2 dates

  • Zest & juice of 1 lemon or lime, hence the citrus name

  • ½ cup of frozen organic berries

  • 1 tbsp of vanilla essence, can use less, but I like vanilla

Method:

  • Pre-heat oven to 180degrees centigrade

  • Mix all ingredients together well in a blender (except frozen berries)

  • Pour batter evenly into 3-4 ramekin containers, I usually get 4

  • Spread berries on top of the batter

  • Bake for 30 min or until golden brown on the top

I usually have mine served with some yoghurt or a dollop of cream or home-made granola scattered on the top or with a chopped up banana....so yum.

That is breakfast sorted for 4 days!

Enjoy XX

Herb, Olive & Cheese Muffin

Gluten Free, Refined Sugar Free, Nut free

As my little man prefers savoury, I'm constantly having to come up with new types of muffins.These are great for the lunchbox and is so easy to make. I’ve tried making this with adding chopped bacon or ham (preservative free of course), but this is how he prefers it. No reason why you couldn’t add half a cup of chopped meat protein.

Ingredients:

  • 1 ½ cups of Gluten free flour, could use normal or spelt flour

  • 1 cup of grated cheese

  • 2 eggs

  • 2-3 sprigs of spring onion finely chopped

  • 5-10 olives finely chopped

  • 1 tsp of mixed herbs

  • ¾ cup of milk of choice

  • 1 tbs nutritional flakes for added nutrition (optional)

Egg Variation:

I have successfully made these with 1 egg and 1 chia egg (1tbs of chia seeds to 3 tbs of water) with little change to the end result. If doing it this way, I'll also add 1 tsp of baking powder (aluminum free)

Method:

  • Preheat oven to 180 degrees centigrade

  • Mix all the ingredients

  • Spoon into muffin trays and bake for 30 minutes or until golden brown

For home I make normal sized muffins, but for school will make them smaller. Apparently eating takes too much time, this way I'm guaranteed he will eat the whole thing. They are served with lashings of butter

These also freeze really well.

Enjoy XX


Probiotic Bliss Ball

Nut Free, Gluten Free, Grain Free, Dairy Free

I love bliss balls. They are such a great portable, convenience food that packs a good nutrient punch.

In one little ball, you can get a good dose of fat, protein, omegas and gut healing goodness, not to mention stabilising the blood sugar levels. So this a great little snack to have handy in the fridge & freezer.

Another reason I love them is because there is next to no effort to double the mixture and have snacks ready to go in the freezer.

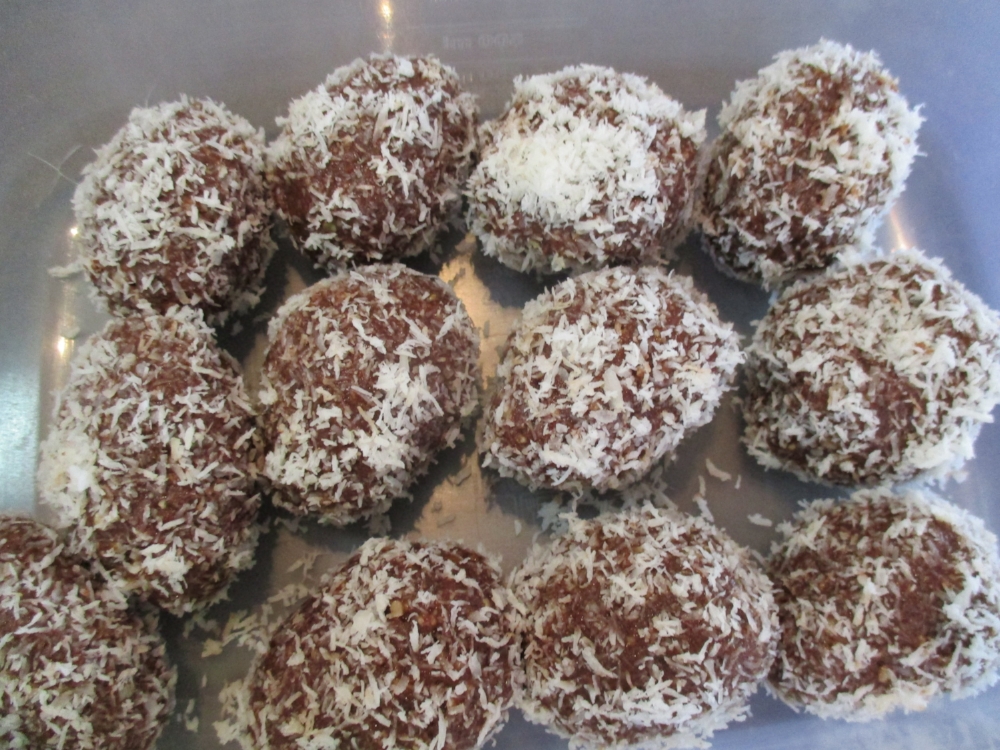
Probiotic Bliss Ball

Probiotic Bliss Ball

Ingredients:

  • ½ cup of sunflower seeds

  • ½ cup of pepita seeds

  • ¼ cup of linseeds

  • 5 dates(pitted) soaked overnight in ½ - 1 cup of water or coconut kefir (overnight soaking is optional. If you don’t do this step, then they will not have the probiotic goodness)

  • ¼ cup of coconut oil

  • ¼ cup of coconut butter (optional. If you don’t have the coconut butter, just double the amount of coconut oil)

  • ¼ cup of cacao

  • ½ cup of shredded or desiccated coconut for rolling

Optional ingredients:

  • 2 tbs of hydrolysed gelatine powder

  • 30g of clean protein powder

  • ½ tsp of tumeric

Method

  1. Mix all ingredients (except the dessicated coconut) in a high speed blender until it all comes together

  2. Use your hands to roll into little balls

  3. Roll in coconut

  4. Store in an airtight container in the fridge for 7 days

Convenience Tip:

 - Double the batch and freeze half in an air tight container.

 - Don't have time to roll the balls, press the mixture flat into a rectangular baking pan and sprinkle the coconut over the top. After an hour in the fridge, cut into bite sized slices.

Enjoy XX

How to make your own Gluten Free Flour

Going gluten free can be quite challenging when it’s all new to you.

When we completed our GAPS journey of healing (no grains), the decision was made to be gluten free allowing some grains of a gluten free nature whilst still following all the principles of a whole food nutrient dense diet.

We couldn’t do nut flours due to my son’s nut allergies and were also very limited using coconut flour due to the amount of eggs it typically requires as he also had an egg allergy.

Looking at the packaged gluten free flours they were full of starches and fillers, so I was very limited to what I could use and was left with no option but to make my own.

So I started looking through my allergy cook books for a recipe and thankfully found one that was not too complicated. The one below is adapted from the original recipe in the book “YUM- Top tips for feeding babies and kids with allergies”

Plain Gluten Free Flour

Ingredients:

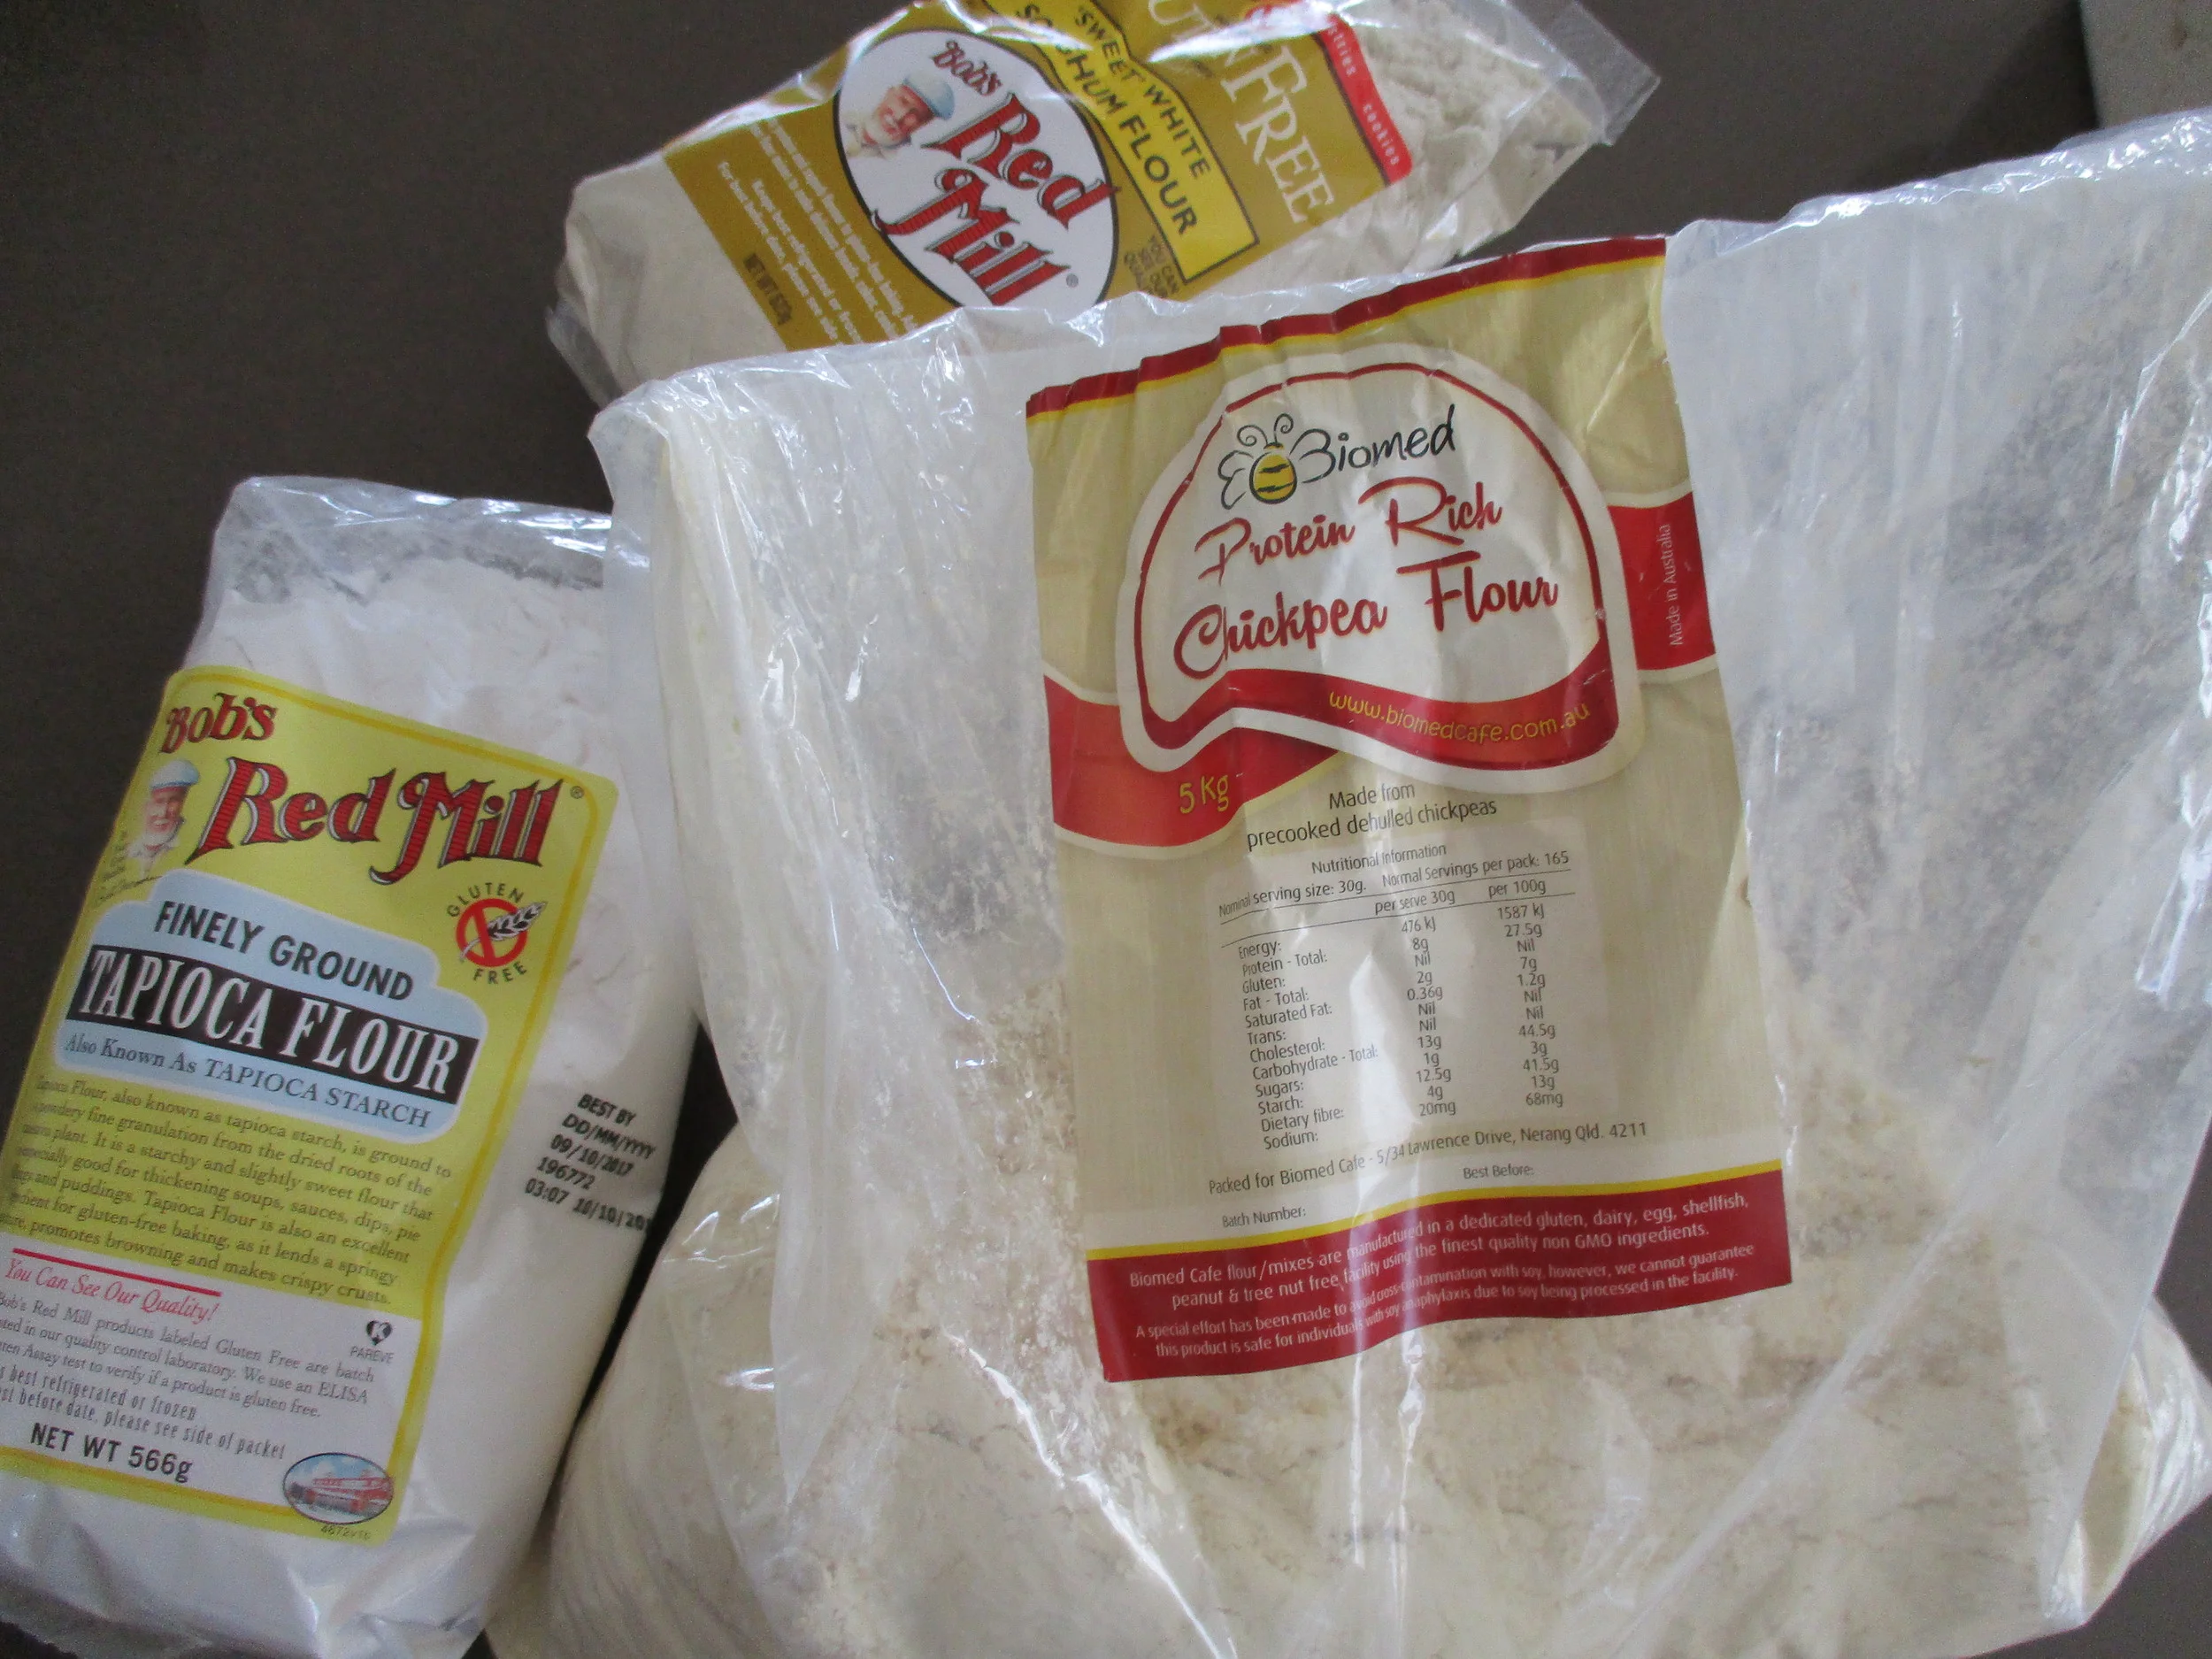
·         150g of chickpea flour. I buy it in bulk from here

·         150g of Sorghum flour. I use Bob’s Red Mill which is easily sourced from Coles or health food stores

·         150g of Tapioca flour. Make sure this does not contain any preservatives

·         1.5  tsp of guar gum. This is needed to help bind the flour. It has the number 412 and in The Chemical Maze is listed as safe for most people.  There are some noted side effects; however it has been fine for my family.

Self Raising Gluten Free Flour

Ingredients:

·         All of the above

·         1tsp of bicarb

·         2 tsp of cream of tartar

Mix all together and store in an airtight container.

Three flours used to make Gluten Free Flour

Notes:

·         You can swap the sorghum & chickpea for the following flours:

o   Millet, quinoa, buckwheat, almond (if no nut allergy)

o   Coconut flour can also be used as an option, but then you will need to play around with the liquid content and eggs in your recipe as coconut flour is very thirsty. This makes it slightly more challenging to do a straight swap in recipes.

After playing around with various combinations, we personally prefer the taste & texture of the above mix and use it very easily as a replacement to make just about any recipe Gluten Free.

To be time effective, I triple the recipe and store in a large airtight container.

Gluten Free Flour Mixes

Working with gluten free flour is very different to that of wheat, so be patient and play around with it, you WILL get the hang it.

Any recipe I post saying gluten free flour will use this mix unless specified otherwise.

Grain Free Gluten Free Chicken Nuggets

OK, so it shouldn't come as a surprise that I'm not fan of chicken nuggets from the usual outlets or even the frozen “organic” varieties you find in the freezer section of the supermarket. Once again, you just need to read the labels to notice the plethora of ingredients. Many of them contain E numbers, preservatives and artificial flavours of which none is needed and is actually very damaging to one’s health.  My kids are just like others and also love chicken nuggets, so I wanted a healthier alternative. That’s when I came up with this little recipe.

What you need:

  • 500g chicken breast sliced thinly into strips or chicken tenderloins. Could also use thigh fillets

  • 1 cup of chickpea flour

  • 1 ½ tsp of real salt or season to taste

  • 1 tsp of onion powder

  • 1 tbsp of garlic powder (I’m a little obsessed with garlic powder at the moment, it goes on everything . Lessen if that’s too much for you

  • 1 tsp of mixed herbs

  • 1 egg slightly beaten *

  • 1tsp paprika seasoning (optional, not needed)

 How you do it:

1.       Mix flour, salt, onion powder, garlic powder, mixed herbs and paprika if using into a shallow glass bowl

2.       Have egg slightly beaten into another bowl

3.       Dip each chicken strip into the egg and then the flour mixture

4.       Once all completed, shallow fry on medium heat until golden brown

5.       Enjoy with your favourite steamed veggies, salad, home made potatoe fries etc

Grain Free Gluten Free Chicken Nuggets

Grain Free Gluten Free Chicken Nuggets

I often double the recipe and make enough for dinner and then freeze the rest uncooked for another day when you are super busy and need something quick for dinner. You can also individually wrap some of the chicken strips before you freeze. Handy for when you need a quick lunch for the kids!

 *I have successfully made these without the egg when my son was completely egg free. Just substitute the egg for any milk your child can handle.

**These can also be made salicylate friendly by only using salt & garlic powder and omitting the rest of the flavourings. It was still quite tasty.

Seeded Grain Free Citrus Berry Breakfast Slice

Gluten Free, Dairy Free, Nut Free, Grain Free, Refined Sugar Free.

This slice is so tasty & sustaining. I often have it with a dollop of yoghurt or cream on the side and sets me up for the day, although not necessary to add. It also contains all the necessary elements for good gut health, cellular health, brain health and great for stabilising blood sugar levels.

Ingredients

  • 2 cups of activated seeds grounded to a fine meal, I usually do 1 cup sunflower and 1 cup pepita seeds

  • 4 eggs

  • ¼ cup of coconut oil melted

  • 1 tablespoon of vanilla essence (I really like vanilla, so reduce it to a tsp if that seems too much for you)

  • Juice & rind of either 1 lemon, lime or orange, lemon is my favourite

  • 2-3 heaped tbsp of tapioca flour

  • ½ cup of frozen berries of your choice

NOTE: - I've not added in any sweetener, but you could add 1/4 cup of maple syrup, honey or rapadura sugar if you find your taste buds prefer a little bit of sweetness.

Method

  1. Preheat oven to 180 degrees C

  2. Blend all ingredients together (except for the berries)

  3. Pour batter into a greased oven proof pan

  4. Sprinkle berries on the top

  5. Bake for 35 min or until golden brown and skewer comes out clean

  6. When cooled, slice into desired sizes and store in an air tight container in the fridge.

These also freeze really well, so store in portion sizes ready to go whenever you need it. All you have to do is warm up the slices for a few minutes in the oven.


Enjoy XX


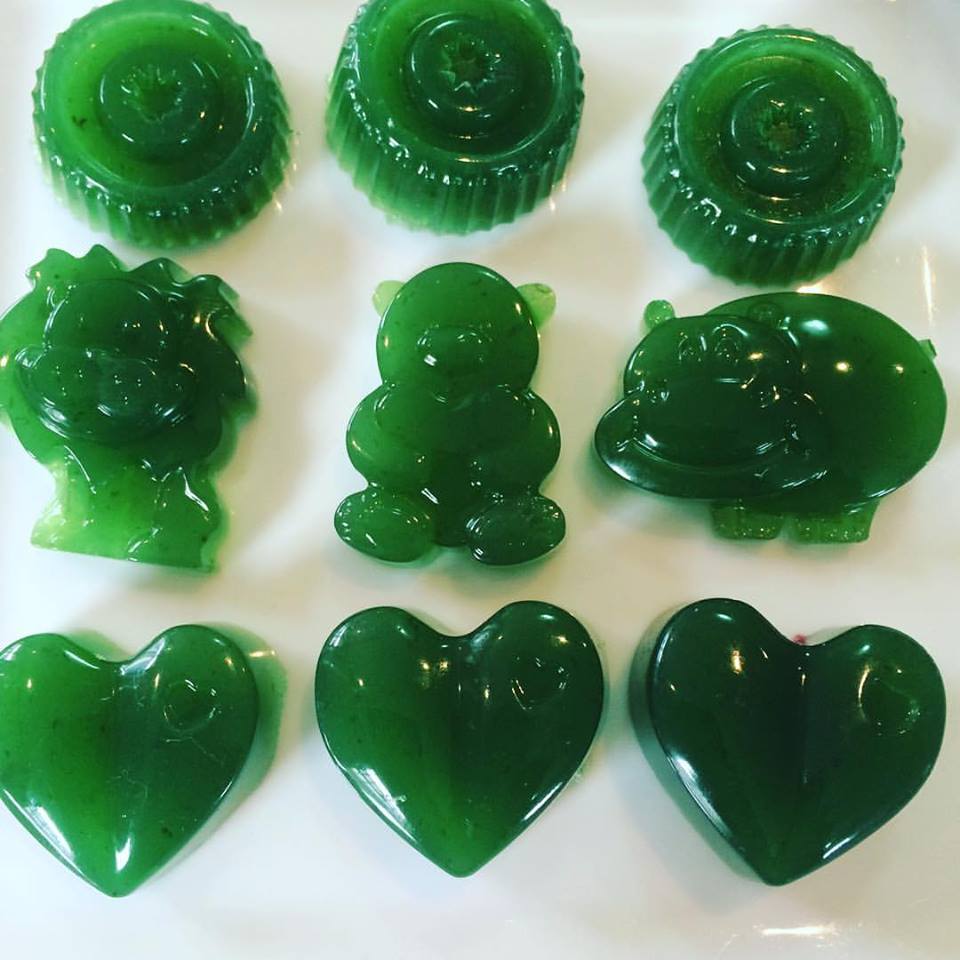
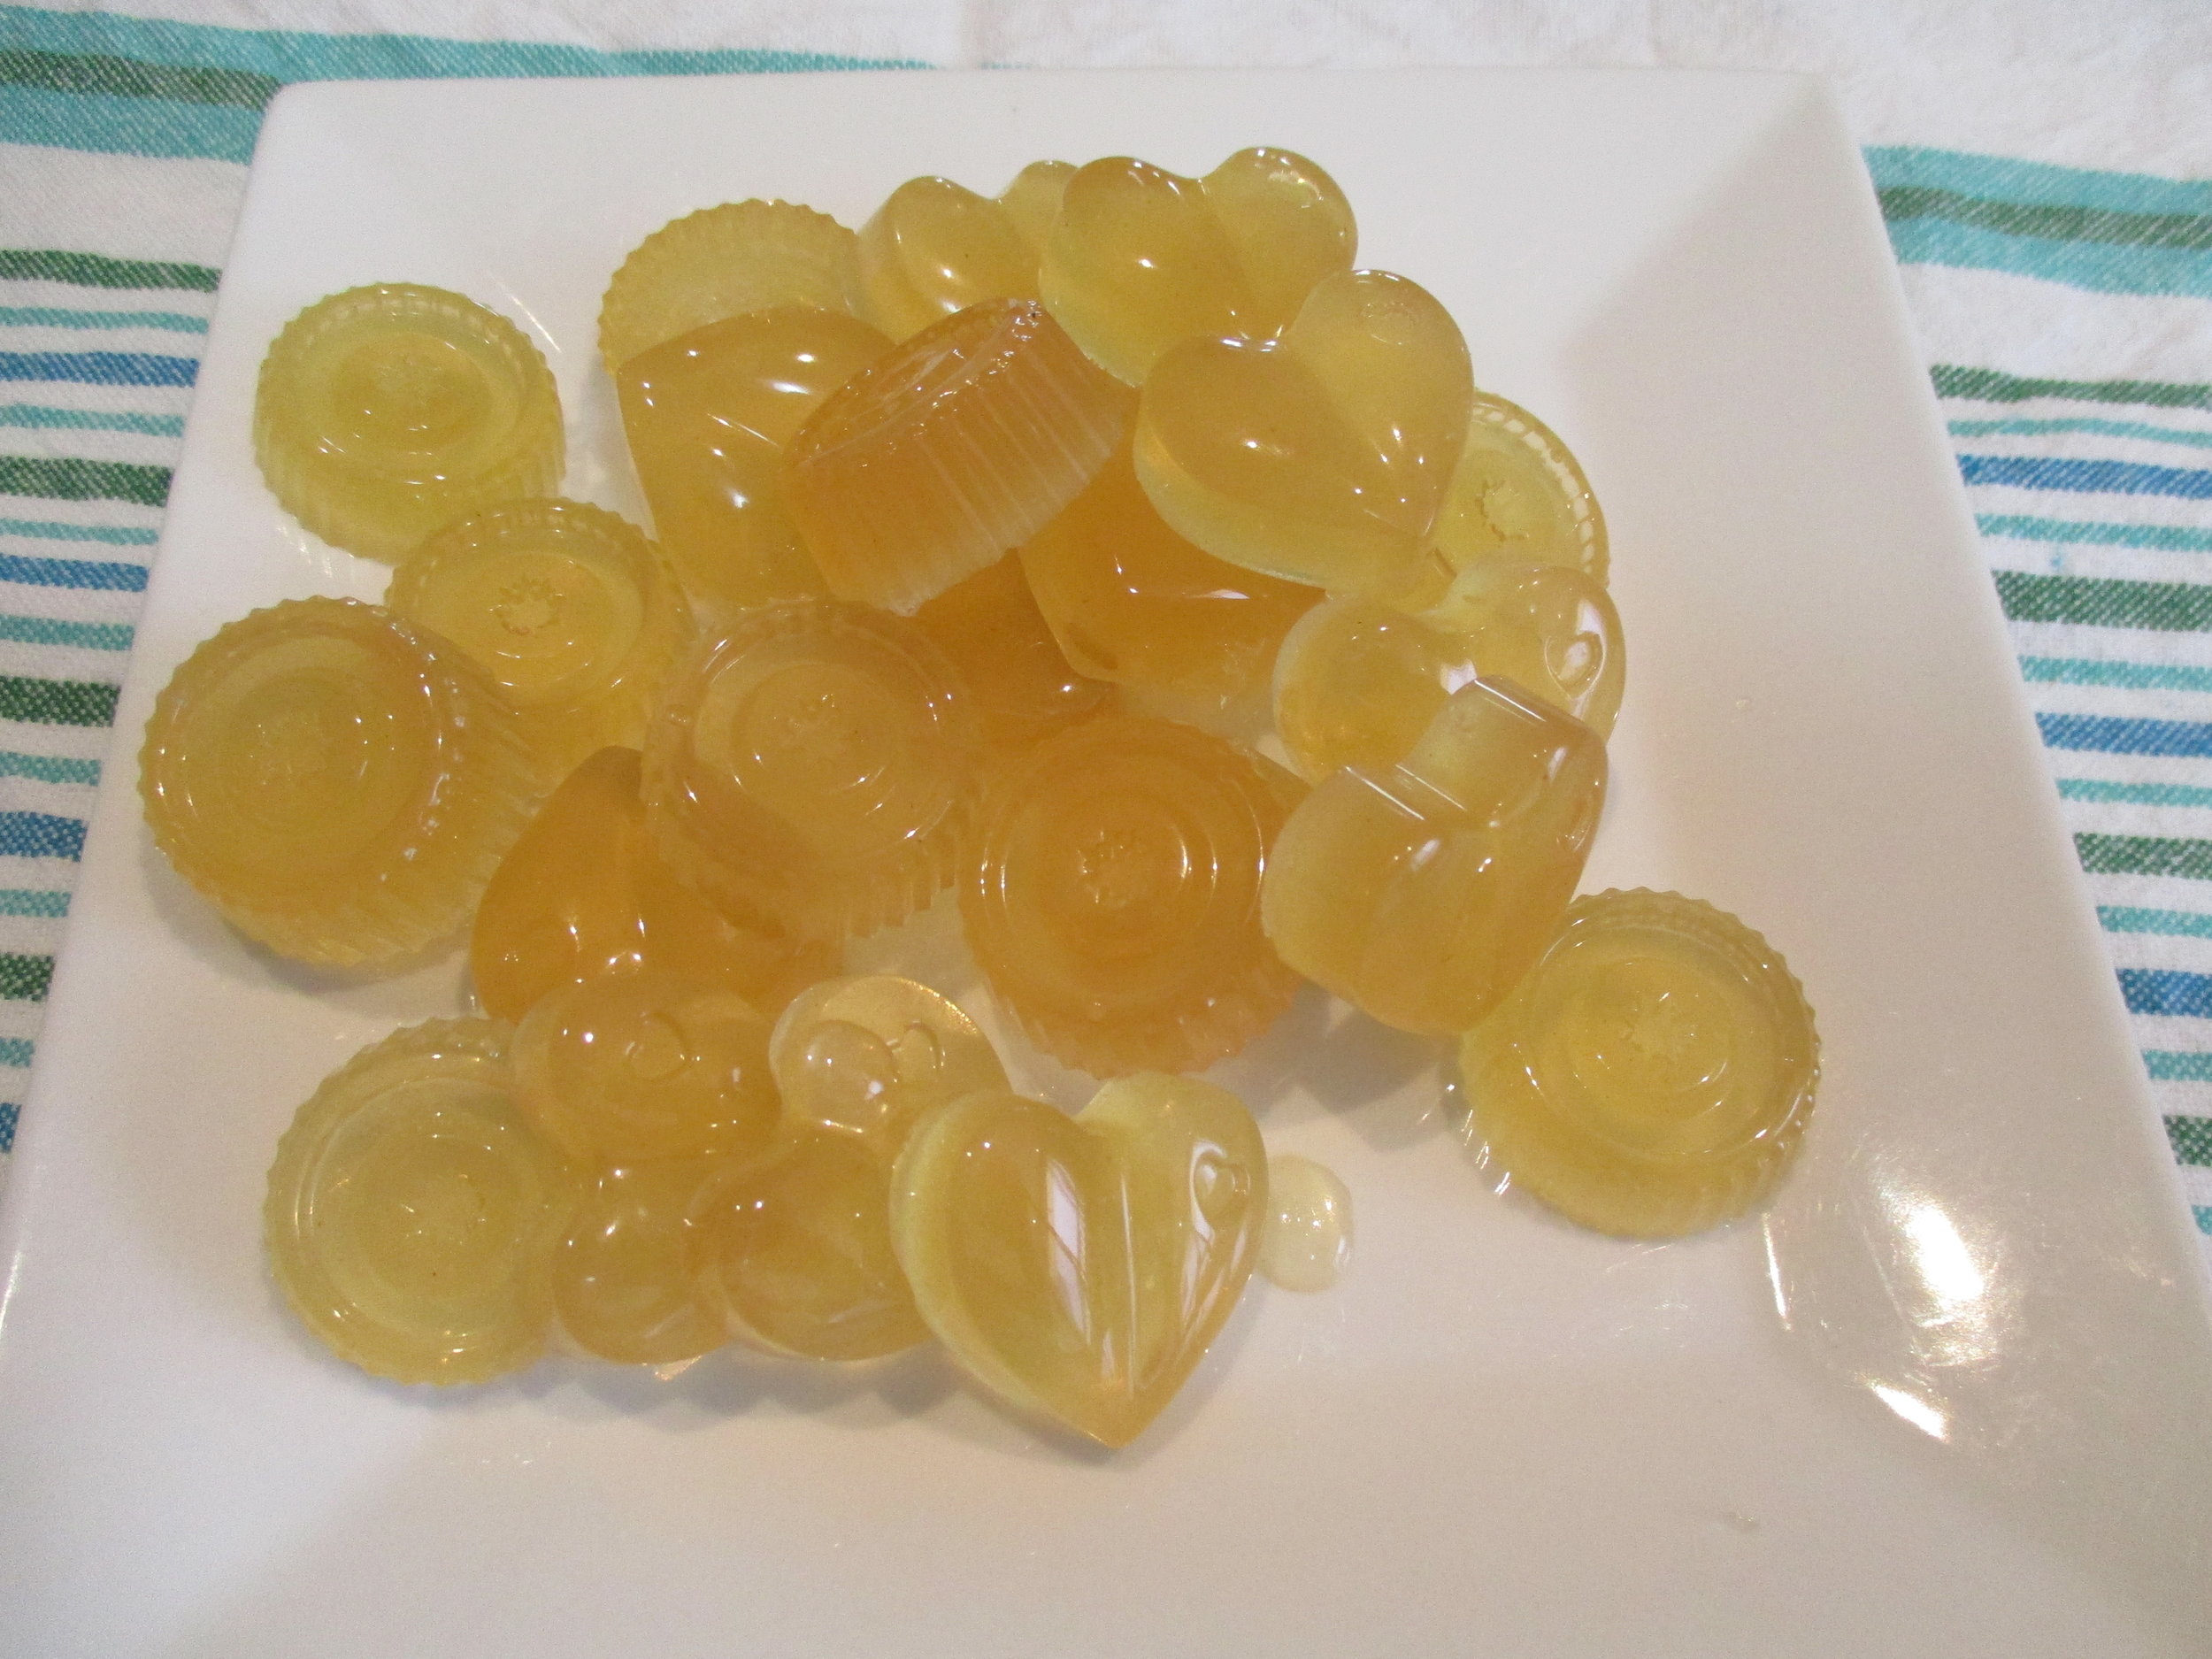
Easy Peasy Gut Healing Gummies

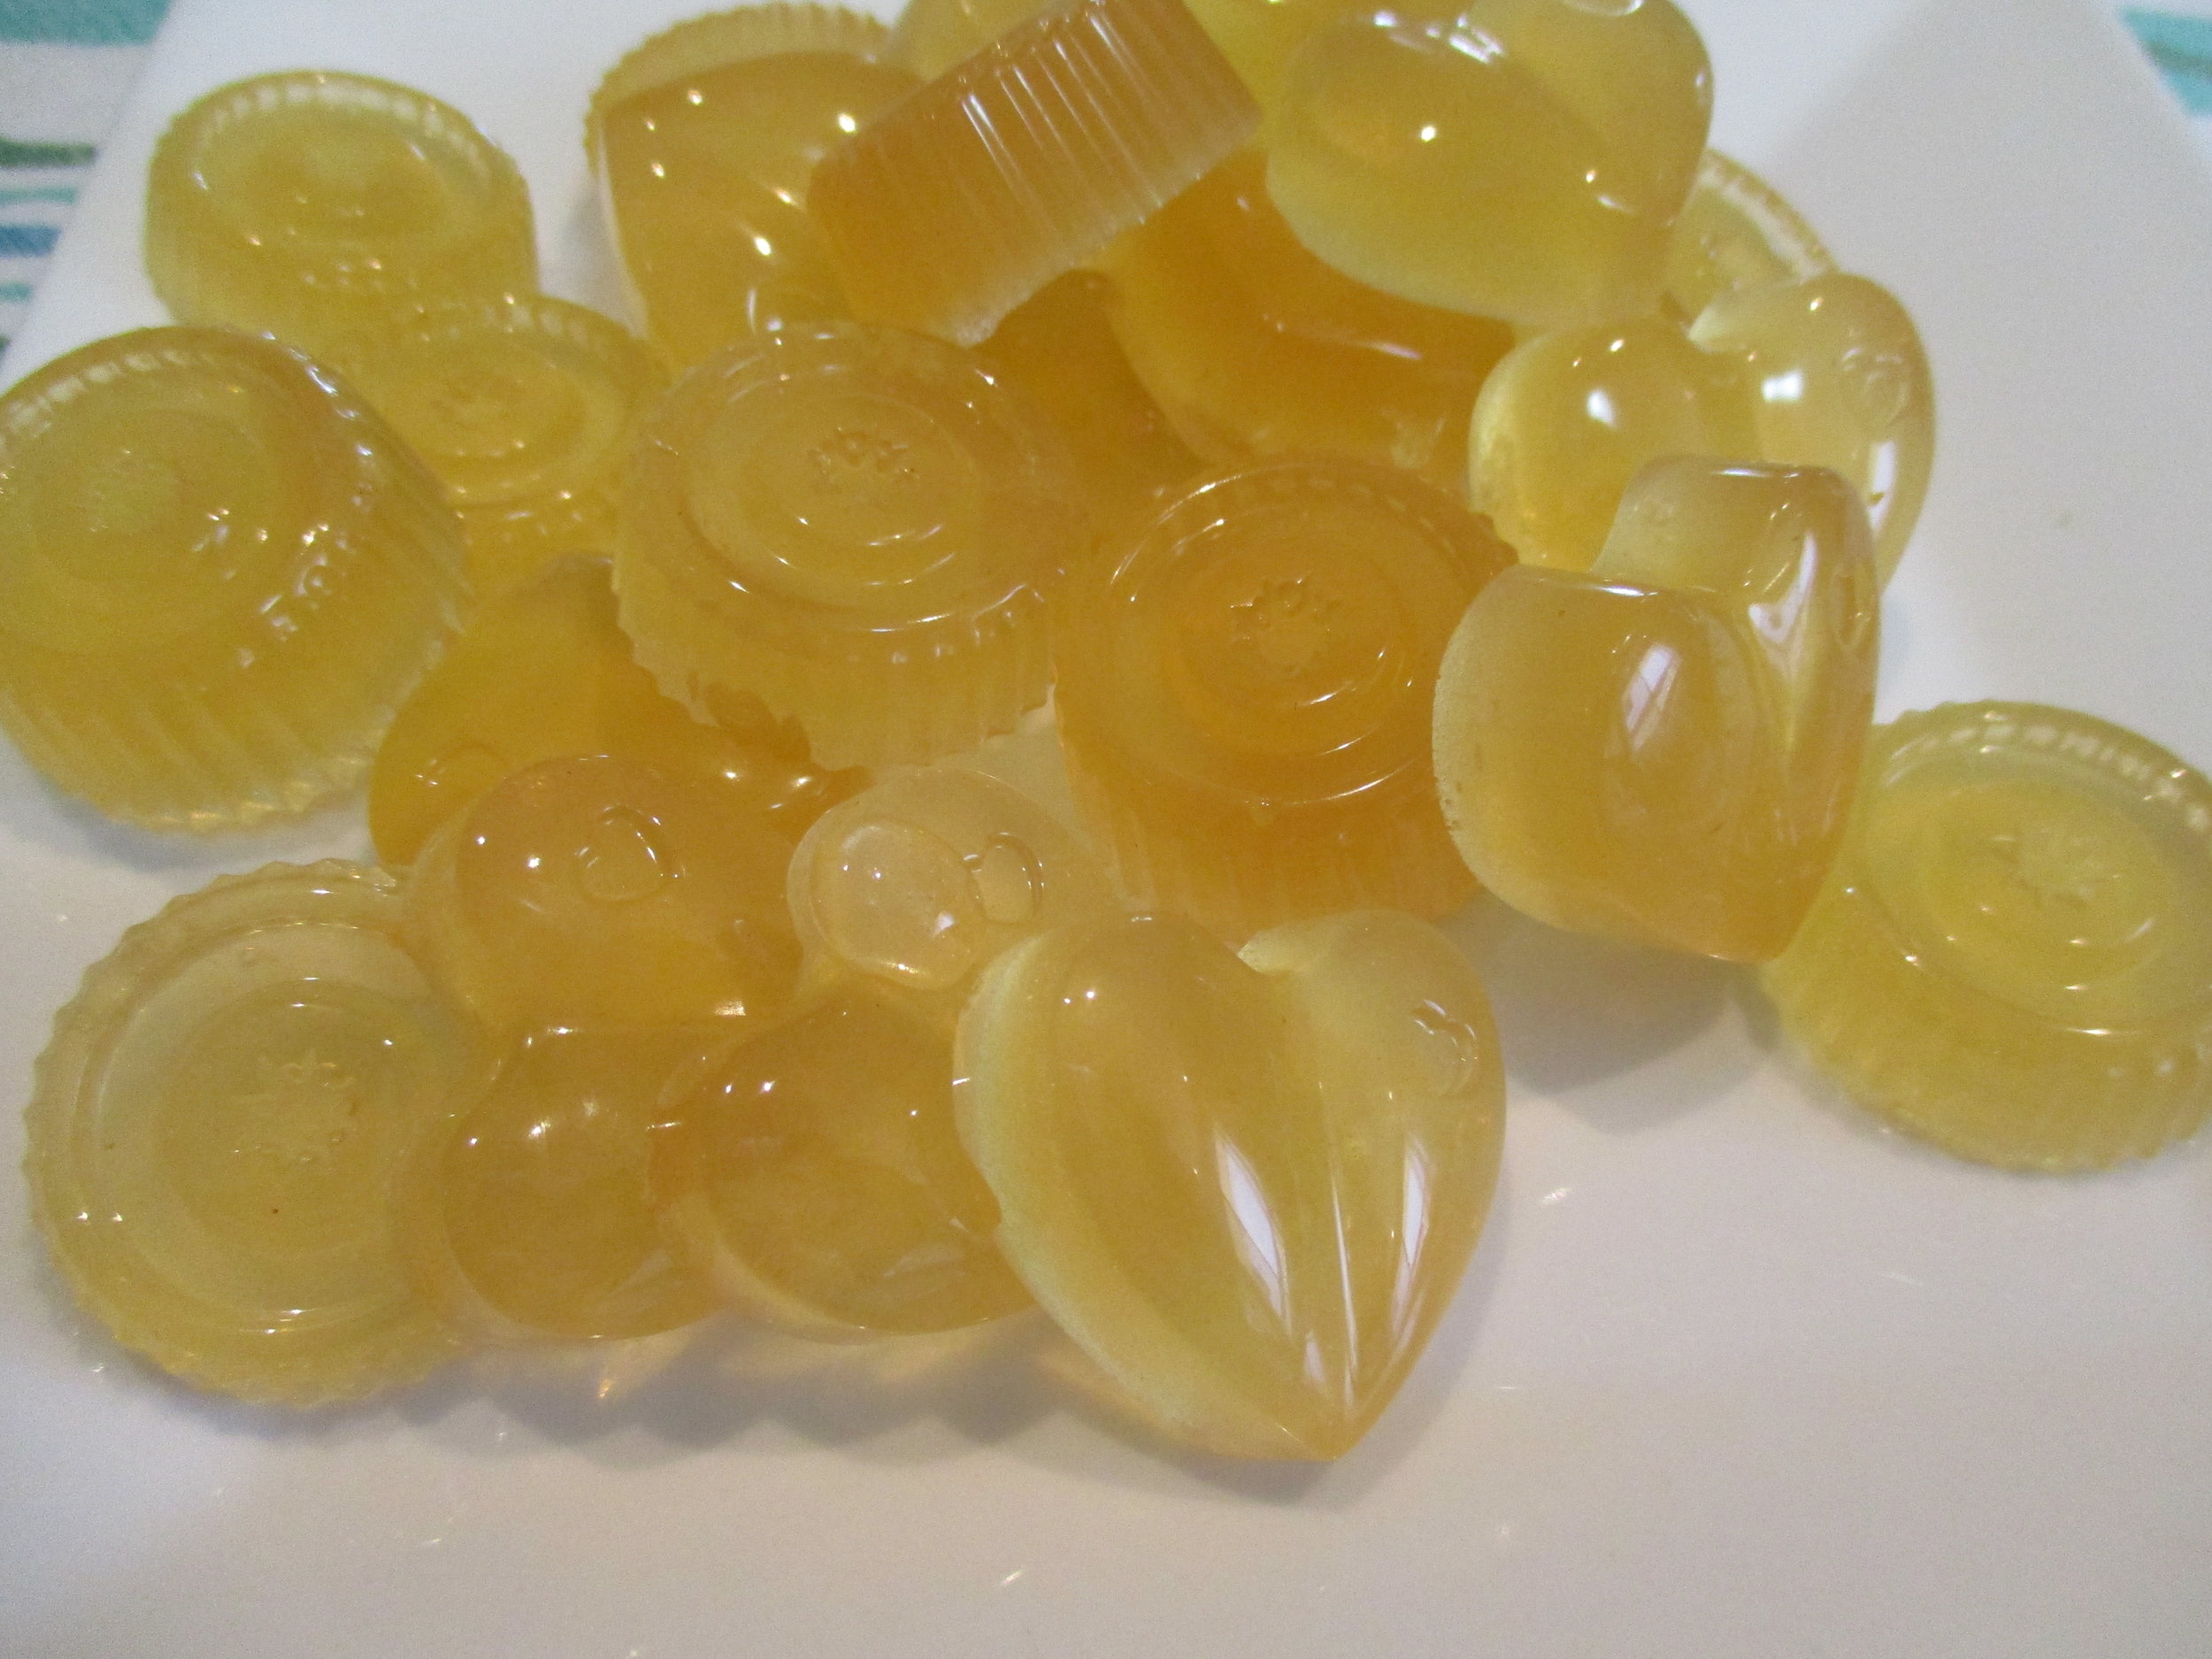
Gummies are a great way of getting some healing collagen into our children's bodies and know that it is helping rather than driving dis-ease.

You could also add collagen gelatine to recipes such as:

·         Panacotta

·         Jellies

·         Pudding

·         Marshmallows

·         Cheesecakes

·         And the list goes on, basically anything that needs a bit of firming

There are quite a few brands of collagen gelatine on the market now, so please ensure they are from a pastured source. Brands I've used before and happy with are Great Lakes that can be sourced from Iherb and Gelpro.

I used to use 1 cup of liquid and found that it just made too many gummies. My kids would then be sick of the flavour half way through, which meant half of them wasted! Apparently they can be frozen, can't say I've tried that myself, but feel free to give it a go. So I’ve halved the amount and this yields just enough for them to have over the course of a week.

EASY PEASY Gut healing probiotic gummies:

Ingredients:

  1. ½ cup of the best juice you can find. Also ensure it is cold pressed and organic if possible.

  2. ¼ cup of fresh lemon juice (optional)

  3. 4-6 tablespoons of grass-fed gelatine. My kids tend to like it on the firmer side, so I use 5 tablespoons. Best to experiment and see what texture your little ones like

  4. 1 tablespoon raw honey, this is enough for us, increase if you feel the need

  5. 2-3 probiotic capsules

Method:

  1. Add the juice to a saucepan

  2. Sprinkle the gelatine slowly into the juice until it starts to soak up the liquid

  3. Heat gently on the stove and stiruntil the gelatine dissolves and then remove from the heat

  4. Once the liquid mixture has cooled down slightly, add the honey and probiotic capsules and be sure to mix thoroughly. You don’t want the liquid too warm otherwise it will destroy the amazing properties of the raw honey and kill the beautiful bacteria in the probiotics

  5. Pour into molds of your choice

  6. Place in the fridge to set for 20min – 1hr

  7. Once set, store in an airtight container in the fridge for up to 7 days

Too easy xx


How to make your own probiotic rich yoghurt!

When we first started our wholefoods journey, admittedly I was quite daunted by the number of foods I needed to make from scratch, however I was pleasantly surprised how easy it was to make yoghurt not to mention cheaper! Prior to do doing GAPs with my son I didn't even like yoghurt, but once I started making my own, I absolutely fell in love it and now it’s a complete staple in our house. I also use a lot of it in cooking & baking.

The problems with commercial yoghurt:

1.       Made with high fructose corn syrup which is so damaging to one’s health let alone that of our children

2.       Contains artificial sweeteners, flavours, colours & dyes

3.       Contains the non desirable form of gelatin used to thicken the yoghurt

4.       Often they are not fermented for long, i.e. 4-6hrs so the benefit of the probiotics are questionable

5.       Made using highly processed milk which is very damaging to our health

The amazing health benefits of making your own yoghurt:

1.       Rich in protein, calcium, riboflavin and vitamins B6 and B12. When made using milk from grass-fed cows the nutrition is even more amplified

2.       A balanced source of protein, fat & carbohydrates

3.       Some lactose intolerant people can eat yoghurt as the lactose in the milk is converted to the sugars glucose & galactose and partially fermented to lactic acid by the bacterial culture

4.       Aids digestion and assists with re-balancing and rebuilding the gut flora

5.       Can assist resolving diarrhea & constipation

6.       Packed full of probiotics especially when fermented for 18-24hrs

7.       So much cheaper than buying a good quality yoghurt which can cost upwards of $7 per 500g

8.       I also use it as a substitute if a recipe calls for sourdough and I don’t have any.

How to make you own probiotic rich yoghurt at home

I use the Easi Yo yoghurt makers and replace the plastic container with a same size glass jar.

Before you start, make sure all equipment is clean and sterile

Ingredients:

1.       1 litre of good quality full fat milk, preferably unhomogenised and organic

2.       1/3 cup of good quality plain commercial yoghurt can be used as the starter

Once you’ve made your first batch, just keep a 1/3 of cup behind to inoculate your next batch of delicious probiotic yoghurt.

Because I use that much of it, I often make 2 litres worth at a time, so just double the recipe.

Method:

1.       Heat milk to 80 degrees centigrade, be careful not to boil the milk as it will change the structure and taste of the milk.

2.       Remove from the heat, cover and let it cool down to 37 degrees centrigrade

3.       Once cooled down, stir in your yoghurt starter and pour into a glass container jar (preferable)

4.       Pour boiling water into the Easi Yo thermal container to nominated mark and insert yoghurt container and close the lid.

5.       Let it ferment for at least 18-24hrs, longer if you like it quite tart

6.       Once completed, place it in the fridge and it’s ready to eat in a couple of hours.

7.       It will last for up to 2 weeks in the fridge

Notes:

If you prefer thicker yoghurt, you can strain it through a muslin before putting it in the fridge. The strained liquid (whey) can then be kept in a glass jar in the fridge and used in smoothies etc

Enjoy XX